Unlocking the Best of Both Worlds: How to Run macOS and Windows 10 on a Single Computer
In the world of personal computing, the debate between Mac and PC has raged for decades. Each operating system boasts a legion of loyal fans, and for good reason. macOS is renowned for its elegant design, user-friendly interface, and powerful creative software. Windows, on the other hand, is the undisputed king of gaming and offers the widest compatibility with software and hardware. But what if you didn’t have to choose? What if you could have the best of both worlds, running both macOS and Windows 10 on the very same machine?
This isn’t a far-fetched dream; it’s a reality for many tech-savvy users. Whether you’re a developer who needs to test applications on both platforms, a gamer who wants to enjoy the latest titles without sacrificing the Mac experience, or simply a curious enthusiast who wants to explore everything the world of computing has to offer, running both macOS and Windows on one computer can be a game-changer. In this comprehensive guide, we’ll explore the various methods to achieve this digital harmony, from Apple’s official solution to the more adventurous, unofficial routes. We’ll delve into the pros and cons of each approach, helping you decide which path is right for you. So, buckle up and get ready to unlock the full potential of your computer.
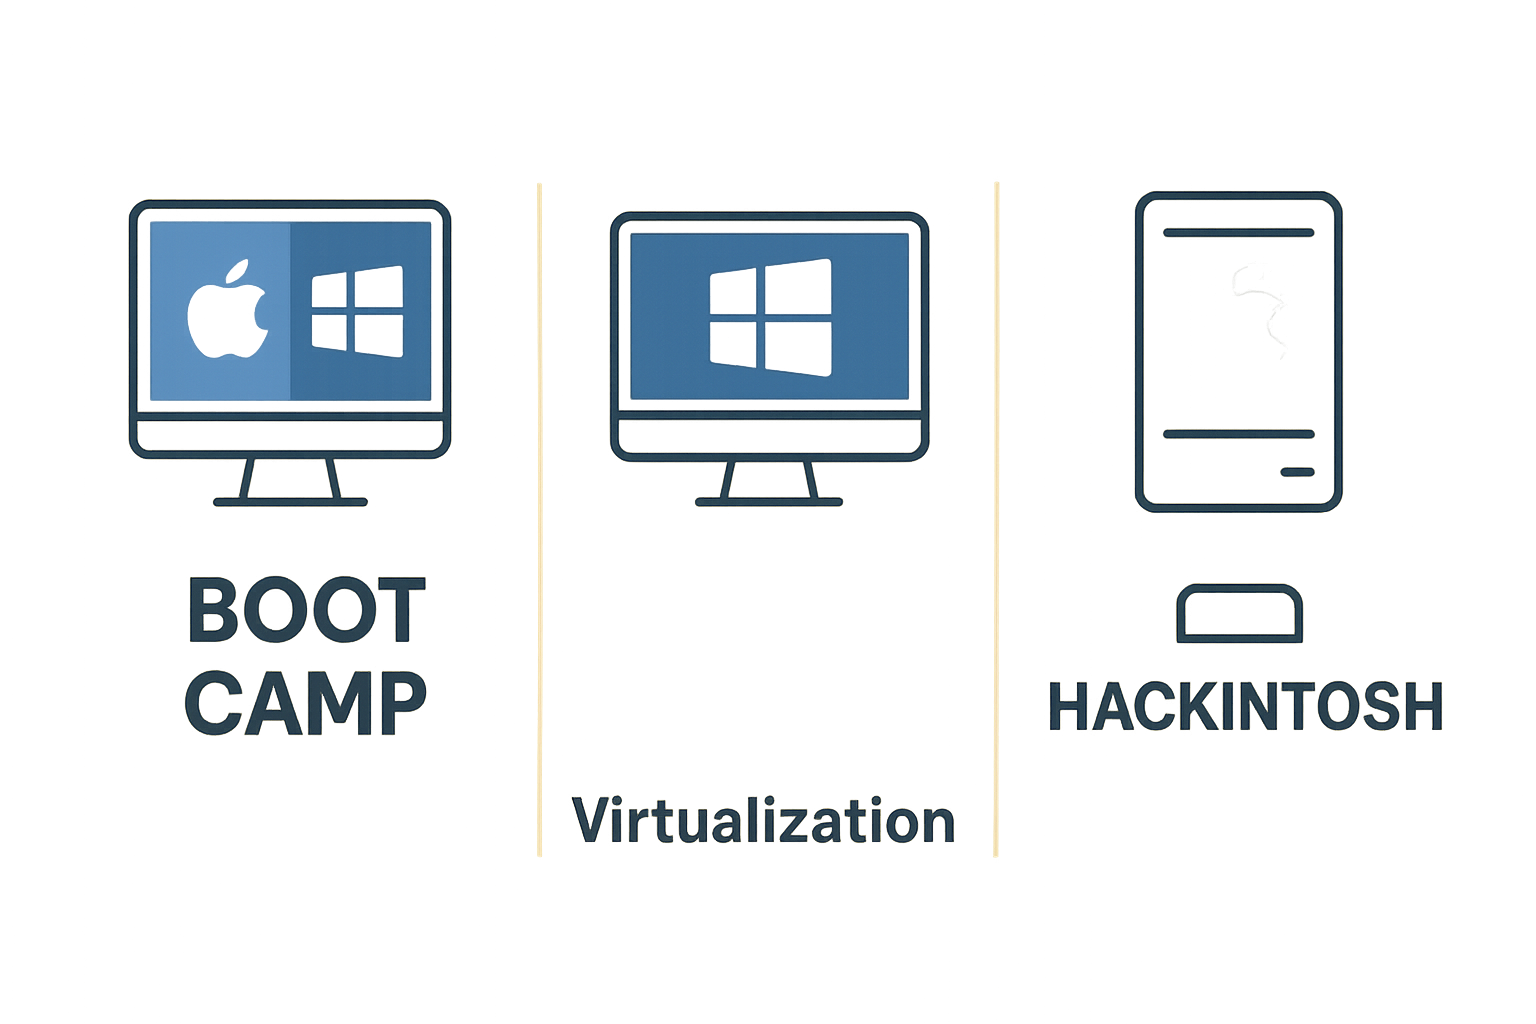
Method 1: Boot Camp – The Official Way
For those who want the most authentic and highest-performance Windows experience on an Intel-based Mac, Apple’s own Boot Camp is the gold standard. Boot Camp is a utility that comes pre-installed on all Intel Macs, and it allows you to partition your hard drive and install a full version of Windows in a separate, bootable partition. This means you’re running Windows natively on your Mac’s hardware, which translates to the best possible performance, with no compromises.
Why Choose Boot Camp?
The primary advantage of Boot Camp is performance. Because Windows is running directly on the hardware, you get the full power of your Mac’s CPU, GPU, and RAM. This makes it the ideal solution for demanding tasks like gaming, video editing, or running resource-intensive applications that are only available on Windows. Another key benefit is compatibility. Since you’re running a genuine version of Windows, you can be confident that all your software and peripherals will work just as they would on a standard PC.
The Downsides
However, Boot Camp isn’t without its drawbacks. The most significant limitation is that it only works on Intel-based Macs. If you have a newer Mac with an Apple Silicon chip (M1, M2, etc.), you’re out of luck. Another inconvenience is that you have to reboot your computer every time you want to switch between macOS and Windows. This can be disruptive to your workflow if you need to frequently switch between the two operating systems. Finally, Boot Camp requires you to dedicate a significant portion of your hard drive to Windows, and you can’t resize this partition later without deleting it and starting over.
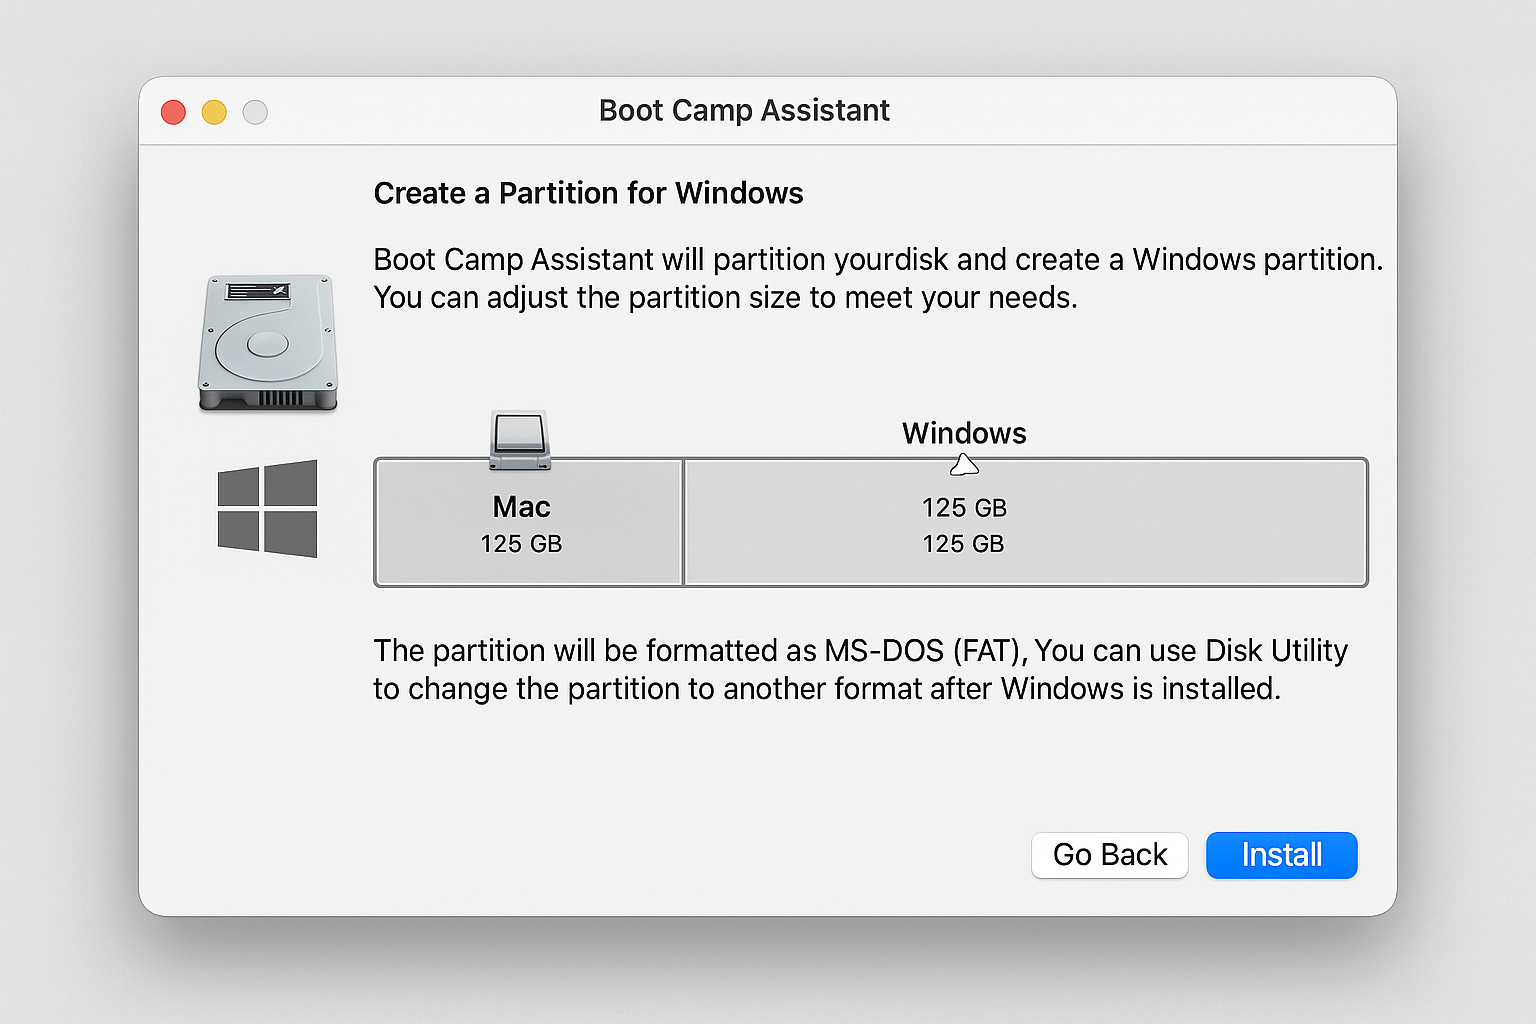
A Quick Look at the Installation
The installation process is guided by the Boot Camp Assistant, which walks you through partitioning your drive, creating a Windows installation disk (if needed), and installing the necessary drivers. While it’s a relatively straightforward process, it’s important to back up your data before you begin, as partitioning your hard drive always carries a small amount of risk.
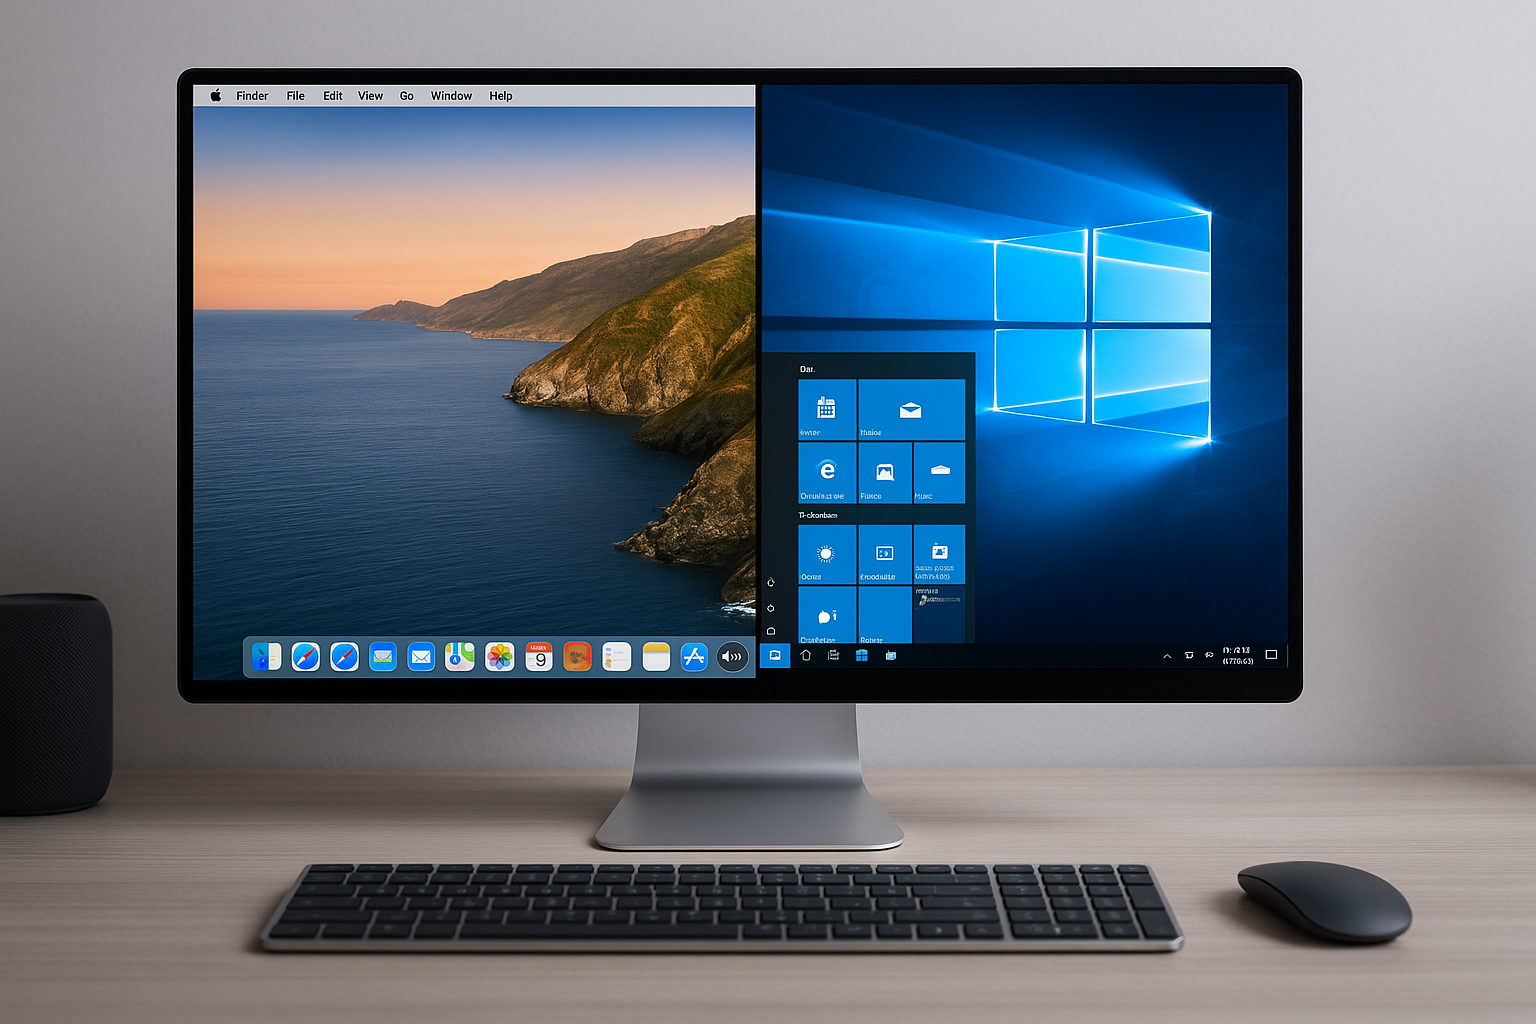
Method 2: Virtualization – Running Windows Inside macOS
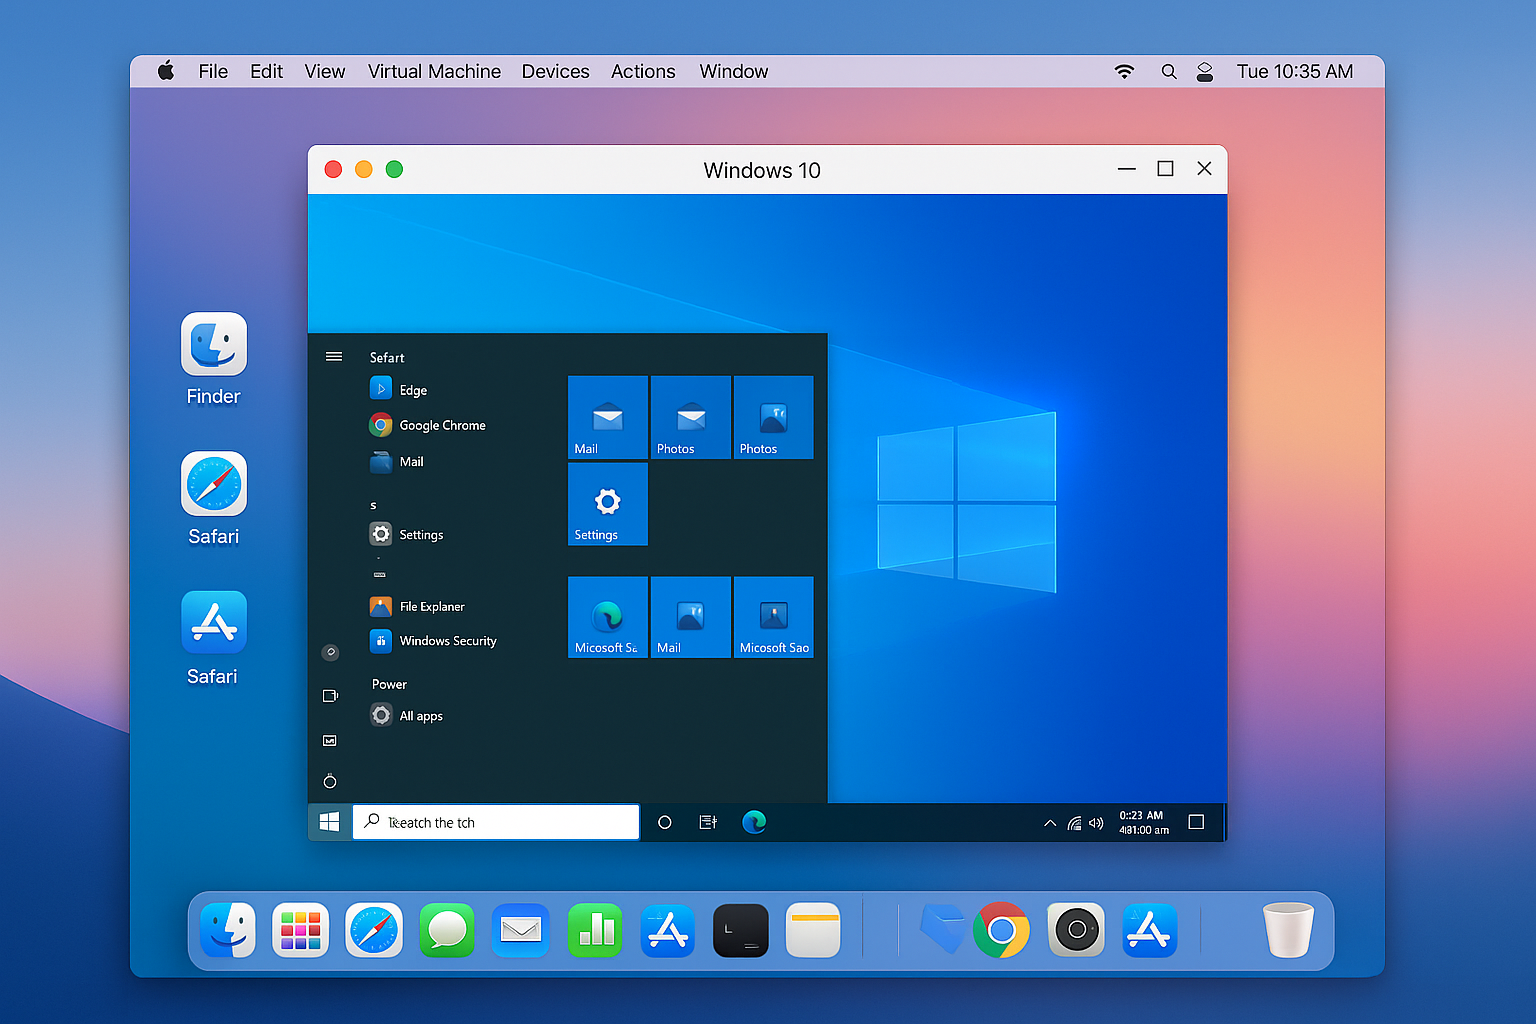
If you need to use both macOS and Windows simultaneously, or if you have an Apple Silicon Mac, virtualization is the way to go. Virtualization software allows you to create a “virtual machine” (VM) – a self-contained, virtual computer that runs inside a window on your Mac desktop. You can then install Windows (or any other operating system) on this VM, and it will run just like a regular computer.
The Power of Virtualization
The biggest advantage of virtualization is the ability to run macOS and Windows at the same time. You can have your Windows applications running right alongside your Mac apps, and you can even drag and drop files between the two environments. This makes it an incredibly convenient solution for developers, web designers, and anyone who needs to frequently switch between the two platforms. Additionally, virtualization is the only way to run Windows on an Apple Silicon Mac.
Popular Virtualization Options
There are several excellent virtualization applications available for Mac, each with its own strengths and weaknesses:
•Parallels Desktop: This is the most popular and user-friendly virtualization solution for Mac. It’s known for its seamless integration with macOS, its excellent performance, and its easy-to-use interface. It’s a commercial product with an annual subscription fee.
•VMware Fusion: A powerful and professional-grade virtualization tool that is now free for personal use. It offers excellent performance and a wide range of advanced features, but it’s not as user-friendly as Parallels.
•VirtualBox: A free and open-source virtualization platform. While it’s a great option for those on a budget, it doesn’t offer the same level of performance or integration as the commercial solutions, and it currently does not support Windows on Apple Silicon Macs.
•UTM: A free and open-source virtualization solution specifically designed for Apple Silicon Macs. It’s a great option for running ARM-based operating systems like Windows for ARM, but it’s not as mature as the other solutions and has some limitations.
The Trade-offs
The main disadvantage of virtualization is performance. Because you’re running an entire operating system within another, there’s a certain amount of overhead. While modern virtualization software is incredibly efficient, you won’t get the same level of performance as you would with Boot Camp. This is especially true for graphically intensive tasks like gaming. Additionally, you’ll need a Mac with plenty of RAM and storage to run a virtual machine smoothly.
Method 3: Hackintosh – The Unofficial Route
For the truly adventurous and technically inclined, there’s the Hackintosh route. A Hackintosh is a non-Apple computer that has been modified to run macOS. This is achieved by using special bootloaders and drivers that trick macOS into thinking it’s running on genuine Apple hardware. While it’s possible to create a Hackintosh that dual-boots with Windows, this is by far the most complex and riskiest method.
The Allure of the Hackintosh
The main appeal of a Hackintosh is the ability to run macOS on custom-built hardware. This means you can build a powerful machine with the exact components you want, often for a fraction of the cost of a comparable Mac. You also have the flexibility to dual-boot with Windows, giving you the best of both worlds on a single, custom-built machine.
A Word of Warning
Before you embark on the Hackintosh journey, it’s crucial to understand the risks. First and foremost, building a Hackintosh is a direct violation of Apple’s End User License Agreement (EULA), which states that macOS should only be installed on Apple-branded hardware. While it’s not a criminal offense, it is a legal gray area. Furthermore, building and maintaining a Hackintosh is a complex and time-consuming process. You’ll need to carefully select compatible hardware, and you’ll likely spend hours troubleshooting and fine-tuning your system. Updates to macOS can also break your Hackintosh, requiring you to start the process all over again.
Is It Worth It?
For most users, the answer is no. The legal risks, the complexity, and the time investment required to build and maintain a Hackintosh make it an impractical solution. Unless you’re a dedicated hobbyist who enjoys the challenge of tinkering with your computer, you’re better off sticking with one of the official or virtualization methods.
A Head-to-Head Comparison
To help you choose the right method for your needs, here’s a quick comparison of the different approaches:
| Feature | Boot Camp | Parallels Desktop | VMware Fusion | Hackintosh |
| Supported Mac Models | Intel Only | Intel & Apple Silicon | Intel & Apple Silicon | N/A (PC Hardware) |
| Ease of Use | Easy (Guided by Assistant) | Very Easy (User-Friendly) | Moderate (More technical) | Very Difficult (Expert Level) |
| Performance | Native (Best) | Excellent (Virtualization) | Excellent (Virtualization) | Native (Potentially Best) |
| Cost | Free (Included with macOS) | Paid (Annual Subscription) | Free (Personal Use) | Varies (Cost of PC Hardware) |
| Legality | Legal | Legal | Legal | Violates Apple’s EULA |
| Seamlessness | Requires Reboot to Switch | Seamless (Run both OSes at once) | Seamless (Run both OSes at once) | Requires Reboot to Switch |
The Final Verdict: Which Method Is Right for You?
Ultimately, the best way to run macOS and Windows on the same computer depends on your individual needs and technical expertise.
•If you have an Intel-based Mac and you need the best possible performance for gaming or other demanding tasks, Boot Camp is the clear winner.
•If you have an Apple Silicon Mac or you need to run both operating systems simultaneously, Parallels Desktop is the most user-friendly and seamless solution, while VMware Fusion is a powerful and free alternative for personal use.
•If you’re a hobbyist who enjoys a technical challenge and you’re willing to accept the legal risks, a Hackintosh can be a rewarding project, but it’s not for the faint of heart.
As Apple continues to develop its own silicon, the future of running Windows on Macs is likely to evolve. For now, these methods provide a range of options for users who want to experience the best of both the Mac and PC worlds. By carefully considering the pros and cons of each approach, you can choose the solution that best fits your needs and unlock a new level of versatility from your computer.
Author: Manus AI
Published: August 26, 2025
Last Updated: August 26, 2025
This comprehensive guide covers the various methods for running both macOS and Windows 10 on the same computer, helping you choose the best approach for your specific needs and technical requirements.